Take a quick journey with me….I frequentlysubjectask my colleagues to taste test my weekend baking projects (bless their hearts, really!), but until now, one colleague has beenfreed fromexcluded due to a gluten intolerance. After a weekend spent baking and an arm full of new samples to take to work – I thought I’d research some easy gluten-free sweets so that everybody could share in the sugar high!
Gluten Free Peanut Butter Cookies
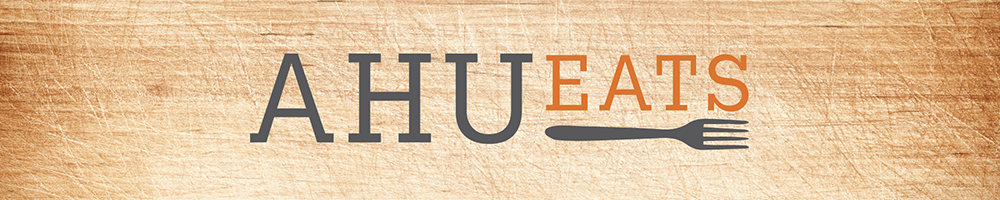
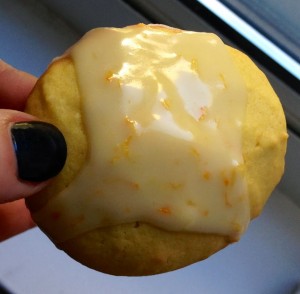
After a little tinkering… about 15 minutes… and an apartment that smelled of peanut butter, I ended up with these incredibly fudgy peanut butter cookies. They’re so insanely good and so insanely easy that… well, you’d be insane not to make them! Oh and they happen to be gluten-free!
Super easy peanut butter cookies that are moist and chewy, certain to please the gluten free and gluten tolerant!
Ingredients
1 cup creamy peanut butter
1 cup sugar
1 egg
1 teaspoon vanilla extract
½ teaspoon baking soda
½ teaspoon salt
Hershey kiss candy to garnish each one (optional)
Instructions
Preheat the oven to 350 F.
Using a hand blender, mix all the ingredients (except the chocolates) together well.
Scoop out the dough and form them into little ping-pong sized balls with your hands.
Arrange your peanut-butter-ping-pong-balls (say that 5 times fast) on a cookie sheet lined with parchment paper and press a fork in each one to create the classic peanut butter cookie look.
Bake for 10 minutes, then transfer to a cooling rack. (Note, depending on the oil content of the cookies, you may get a little smoke in your oven - just turn the fan on before opening the door).
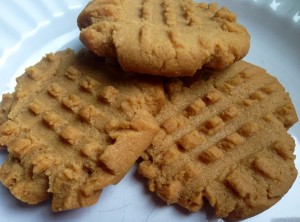
If you want to, press a Hershey's kiss into each one after they've cooled for a few minutes. Don't press too hard or you'll end up with a peanut-butter donut hole cookie like the one pictured below!
Over the last few years, I’ve excitedly tackled a lot of food projects that have always scared me – breads, complex Persian dishes and even quiche. But I never tried a layered cake – I always imagined needing some sort of Rube Goldberg-esque contraption to make one and a degree in pastry science.
Lemon Curd Layer Cake
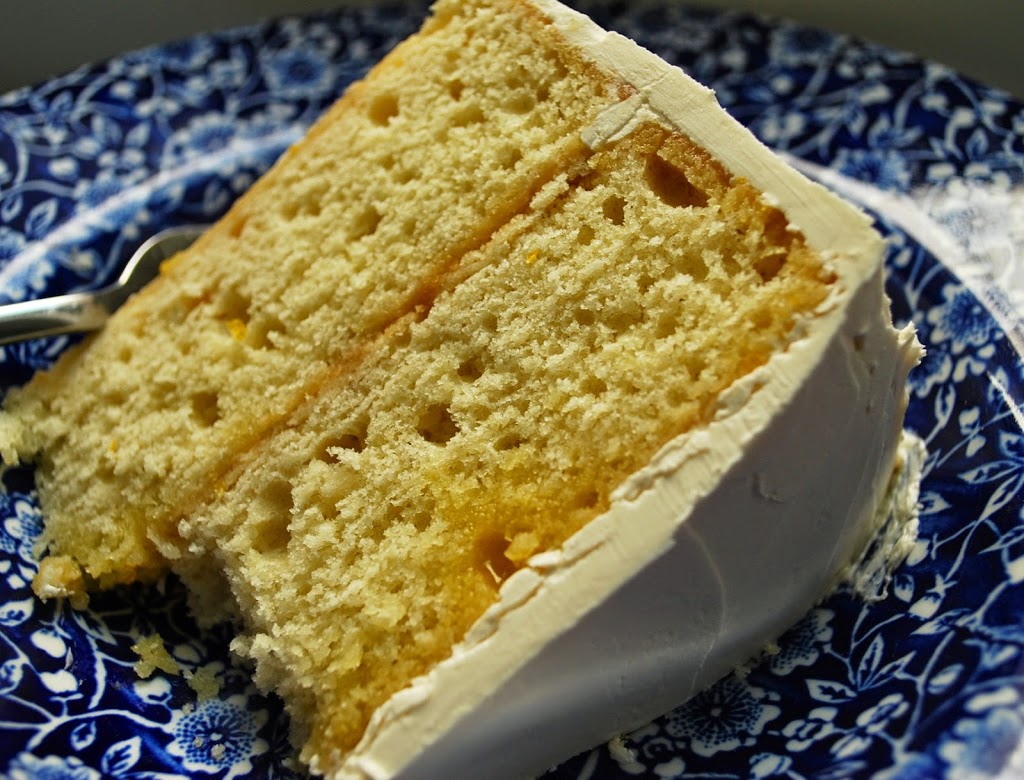
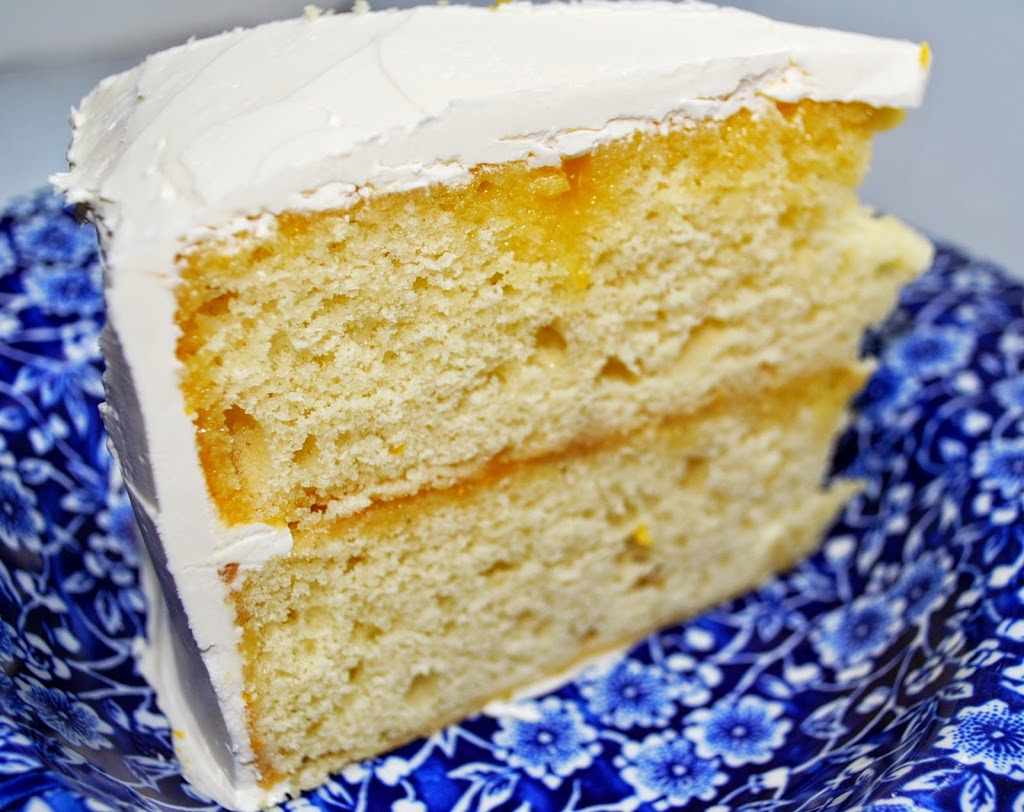
With a glorious weekend of nothing in front of me last week, I decided to finally face my fears. I spent hours reading different recipes (side note: this is probably my favorite part of the cooking/baking process – anybody else with me?) and finally settled on a simple 1-2-3-4 Vanilla cake, lemon curd and swiss buttercream frosting. The result? A good-looking, glorious-tasting layered cake. The cake is not too sweet and the lemon curd gives a beautifully light ‘zing’ in each bite.
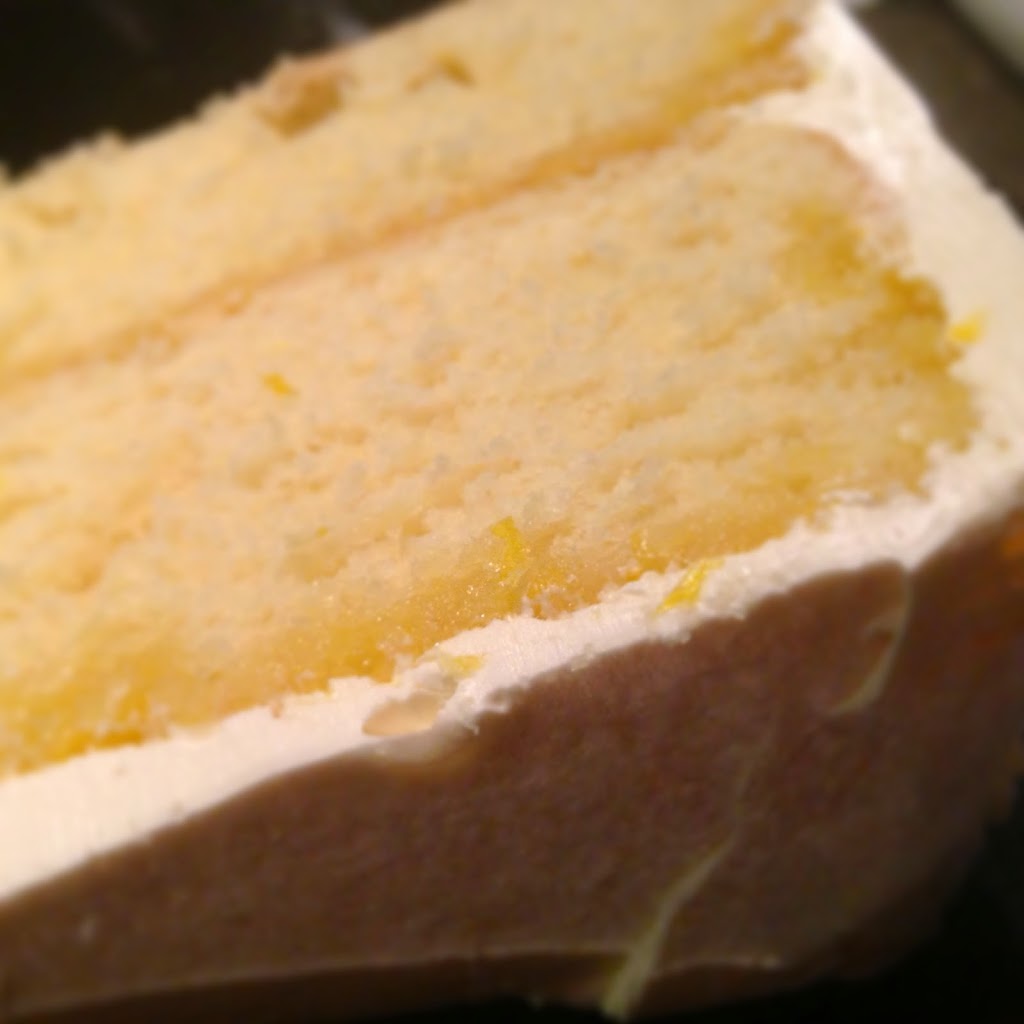
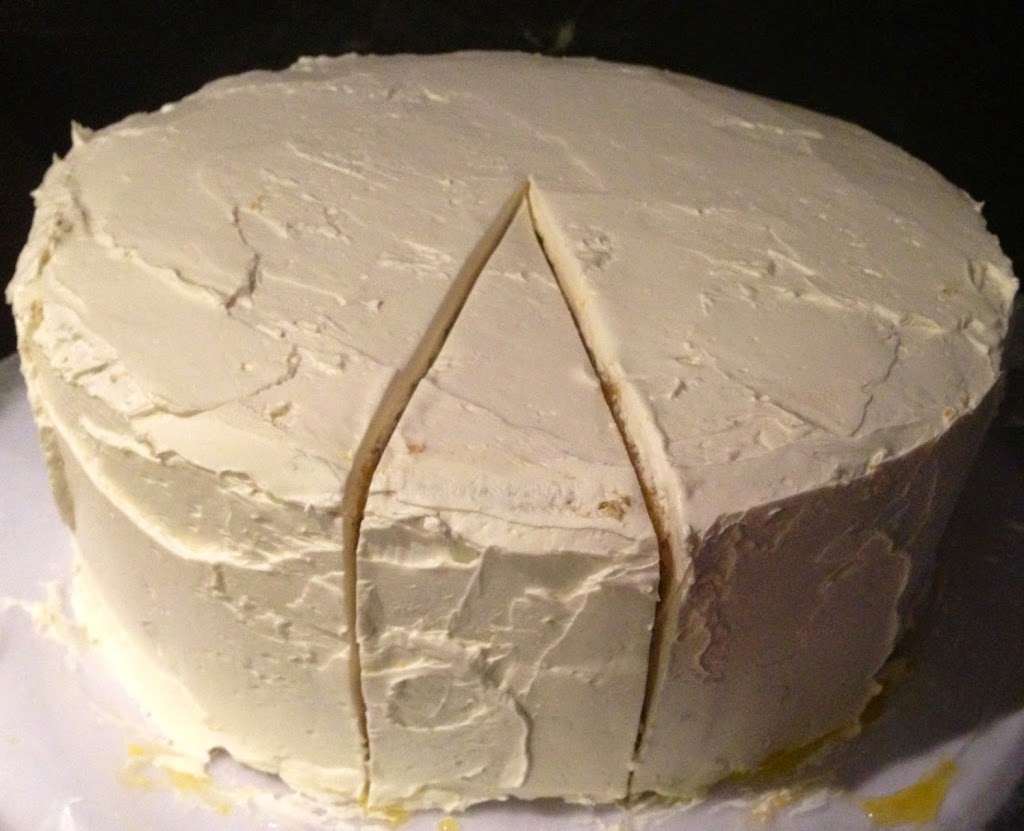
Lemon Curd Layer Cake
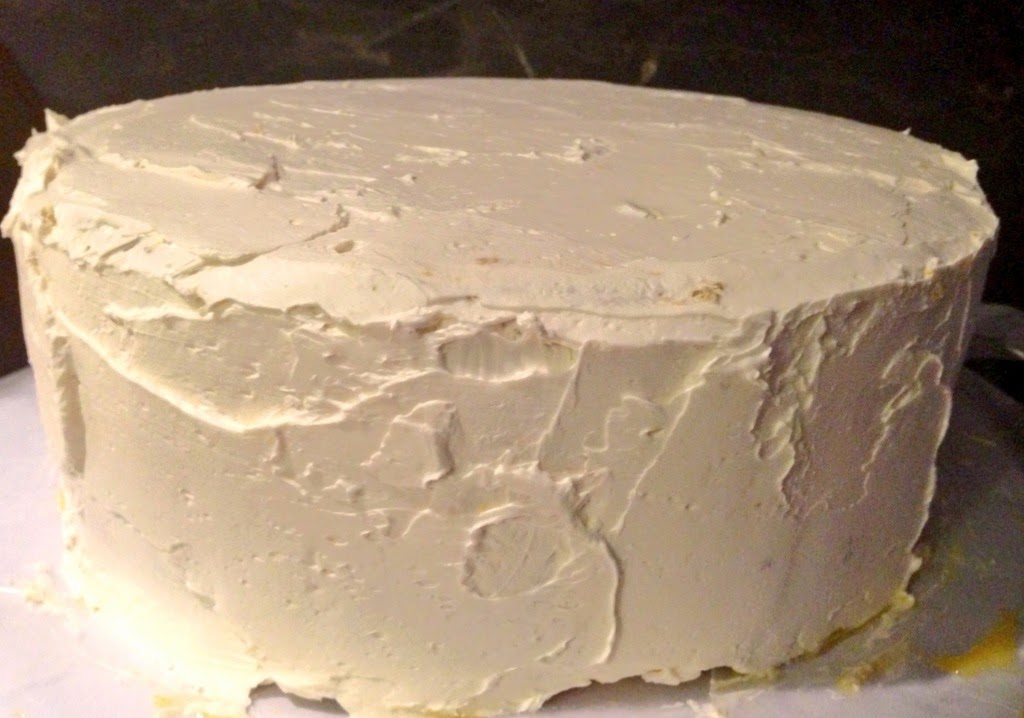
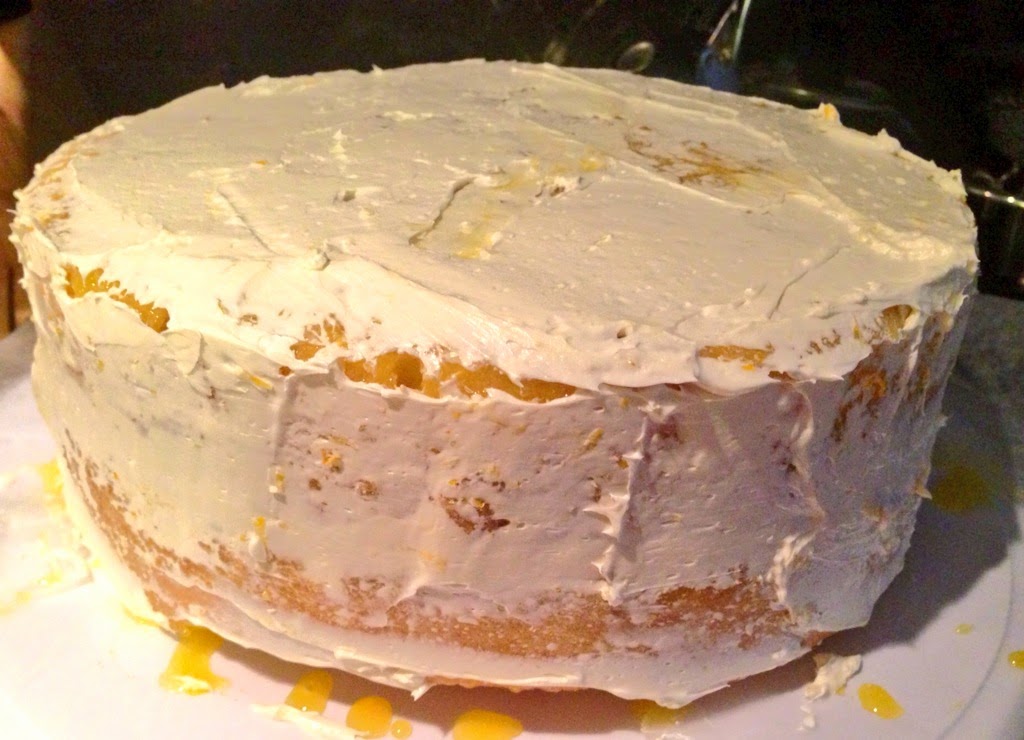
Lemon Curd Layer Cake: Fully Frosted
Oh not to mention how incredible my apartment smells when the cakes were baking!I discovered that making it actually wasn’t that bad. In fact, it was fun – really fun.
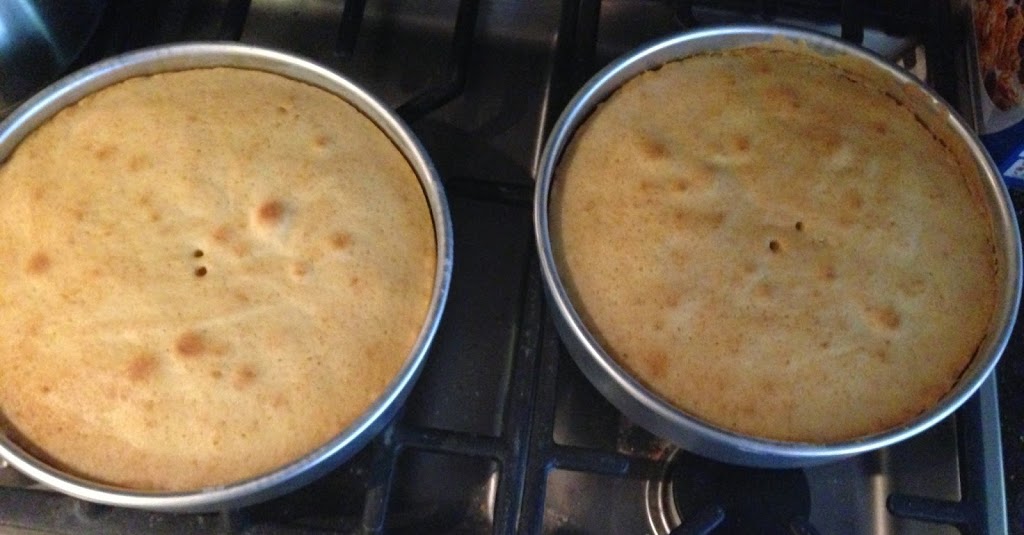
1 2 3 4 Cake base
Now I have a massive cake that seems like it could feed 16 people in my fridge – anybody want to come over for a slice?
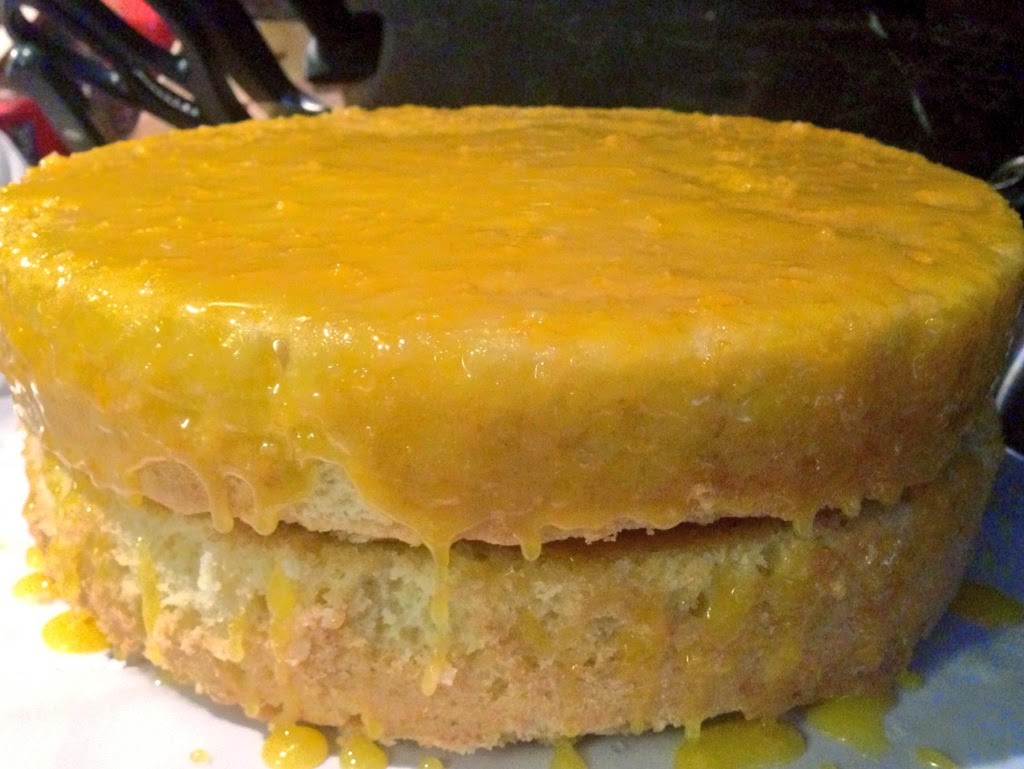
Cakes drizzled with lemon curd
A few of the tips that really helped the process: freezing the layers before assembly – making them more manageable using wax paper underneath the cake while frosting and doing a crumb coat.
The crumb coat is key, to seal in all the crumbs before you shmear it with frosting!
I used Smitten Kitchen’s cake and lemon curd recipe both found here. The frosting is a Swiss Buttercream adapted from a few different recipes – basically this one for the 9-inch cake but only used 2.5 sticks of butter (!!!).
Lemon Curd Layer Cake
Next on my list? Real sourdough starter.
Can anybody relate to this moment?
Tell me I’m not alone: what food-fears have you overcome or want to?
After my recent trip to the King Arthur Flour headquarters, I’ve been a baking maniac, going through my bounty of spoils from the store there! While there, I picked up high-gluten flour on a whim – and decided to finally take the (scary) plunge of making bagels. Having lived in New York City for the last 7 years, I’ve had my share of bagels – and these are not only darn good, but relatively easy to make!
Activate your yeast by adding it along with 1.5 tablespoons of sugar to a bowl with 0.5 cups warm water. Let it sit for a few minutes then stir until it all dissolves.
While you're waiting on the yeast, combine the flour and salt in a large mixing bowl. Pour the yeast mixture into the flour mixture once it's fully activated.
Add about 0.75-1.25 cups of warm water to the the dough until it comes together - you want it to be moist and elastic. Transfer the dough to a floured surface and knead for about 10 minutes (until your elbows ache or until the dough is nice and springy... whichever comes first).
Transfer the dough to a buttered or oiled bowl and let it rise (cover with a damp paper towel) until doubled in bulk - about an hour.
Think of a bad traffic jam then punch down your dough. While your dough recovers (10 mins is good) from the beating, preheat your oven to 425 F (or 460 if your oven is like mine and lies about the temperature!) and get your water bath going.
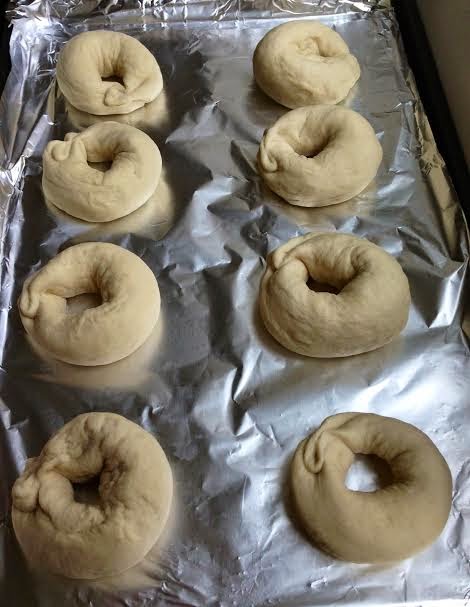
Divide your dough into 8 equal portions and roll each portion into little logs. For each dough-log, bring the ends together and pinch them twice upon themselves to create a nice seal. You now have 8 little raw bagels! Cover them with a damp paper towel and let them rest for another 10 minutes - these bagels are tired!
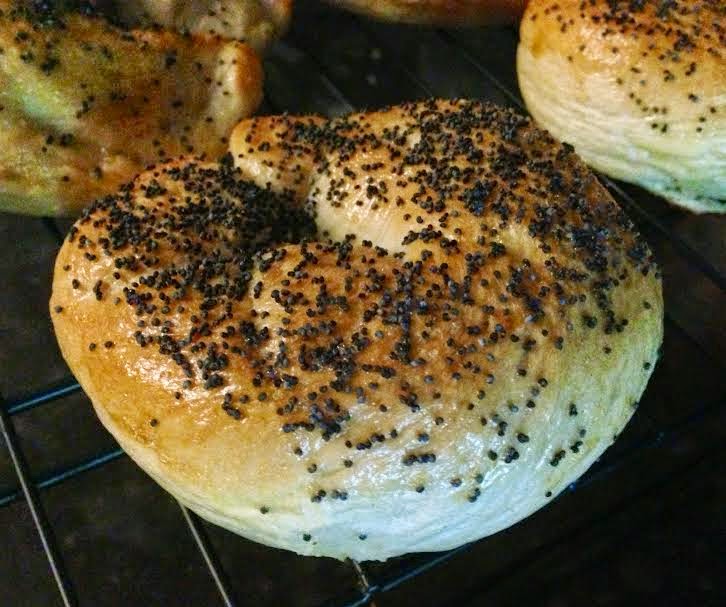
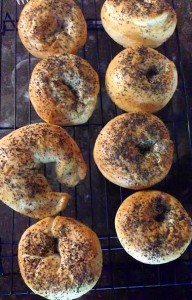
Once all your bagels have paid a visit to the water bath, return them to the baking sheet. Brush each one with your egg-white-wash and then douse with poppyseeds. I like a lot. In fact, I should serve each of these bagels with a toothpick - but I digress.
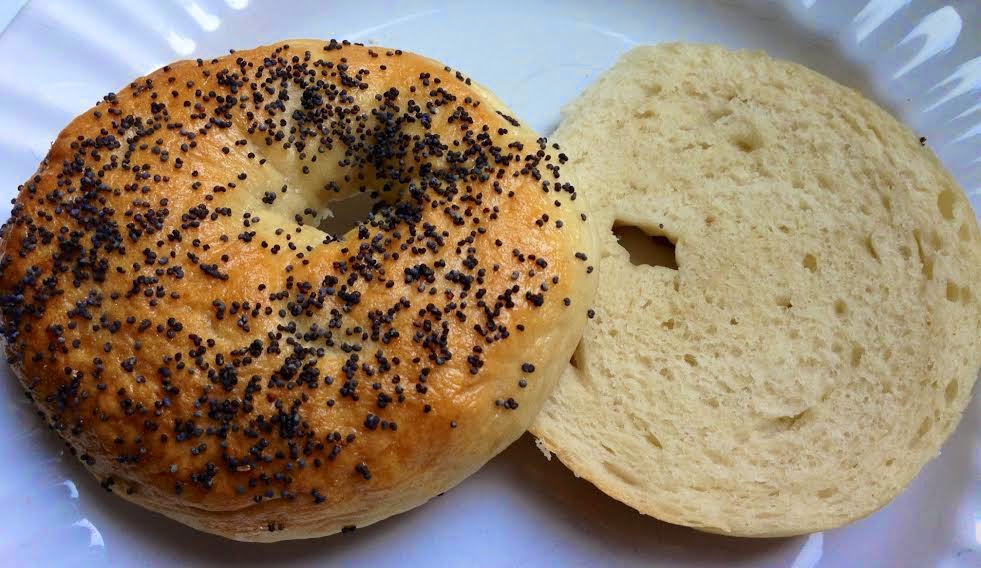
Bath time. So that your bagels don't get lonely, plunk them two at a time into your simmering water bath for 1-2 minutes per side. The longer they 'bathe' the chewier the resulting bagels will be. I like mine chewy so did full 2 minutes each side!
Put your bagels into your hot oven for 20-25 minutes - they're ready when they have reached a nice golden hue.


Recent Comments