My adventures in flour continue – this time minus the yeast. I decided to give crackers a go because – lets face it – waiting hours for bread dough to proof just doesn’t hit that ‘instant gratification’ spot in baking!
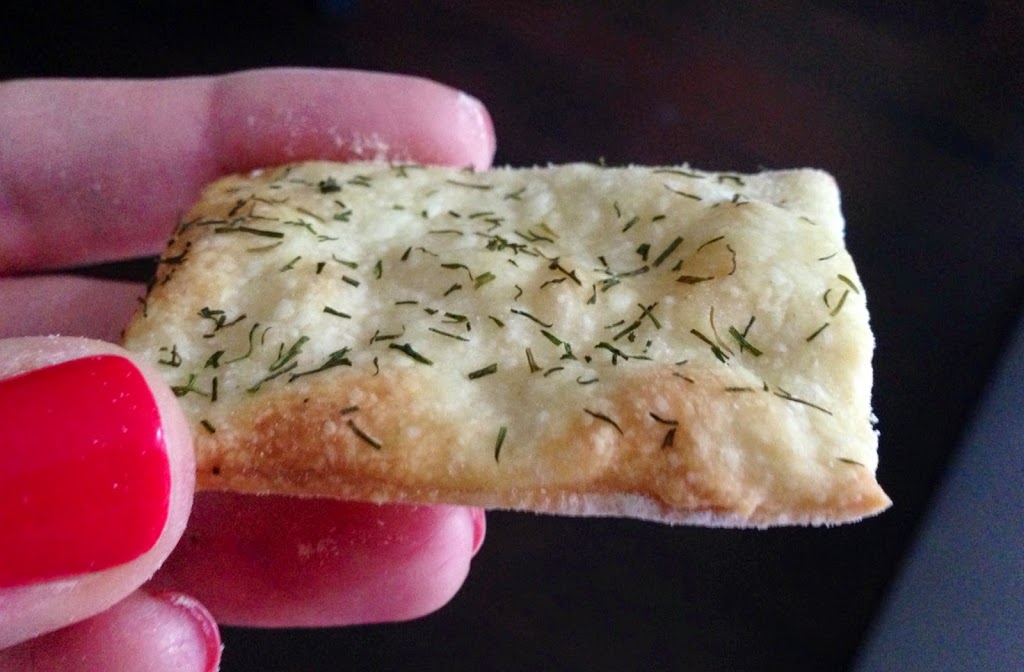
Homemade Dill Crackers
These crackers are adapted from a recipe by my new favorite site – The Kitchn – with the addition of one of my favorite herbs! They’re simple, tasty, adaptable and best: fast.
It takes a village… of homemade Instagramed crackers to make you happy!
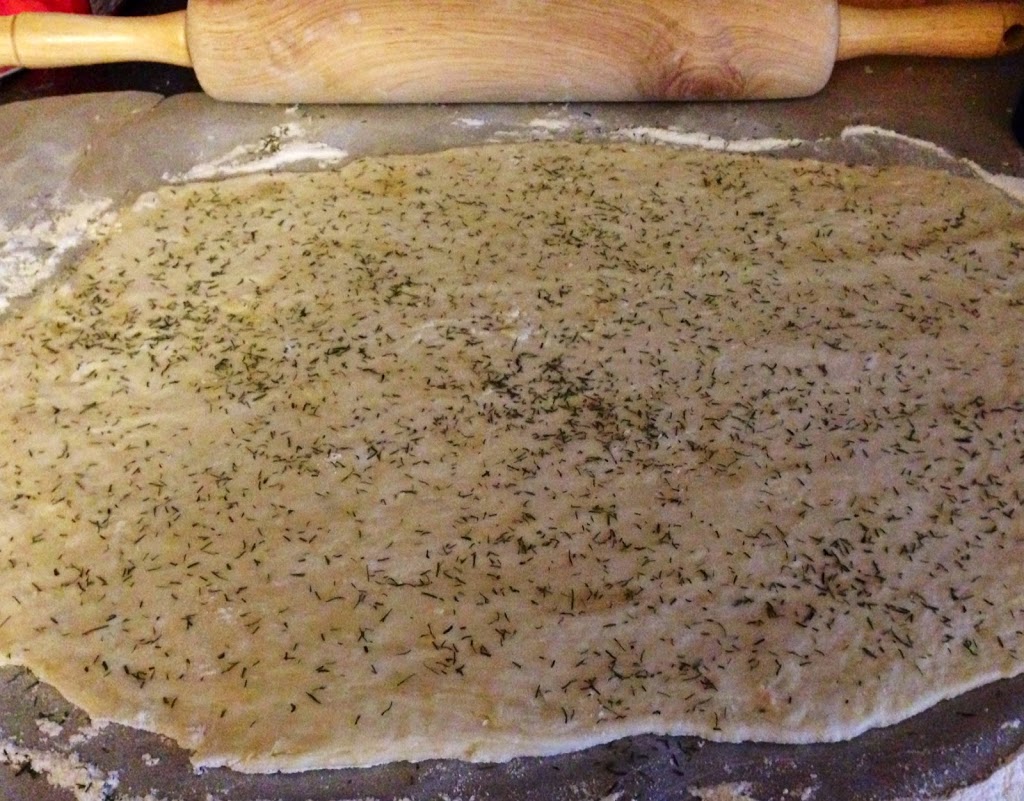
Homemade cracker dough rolled out
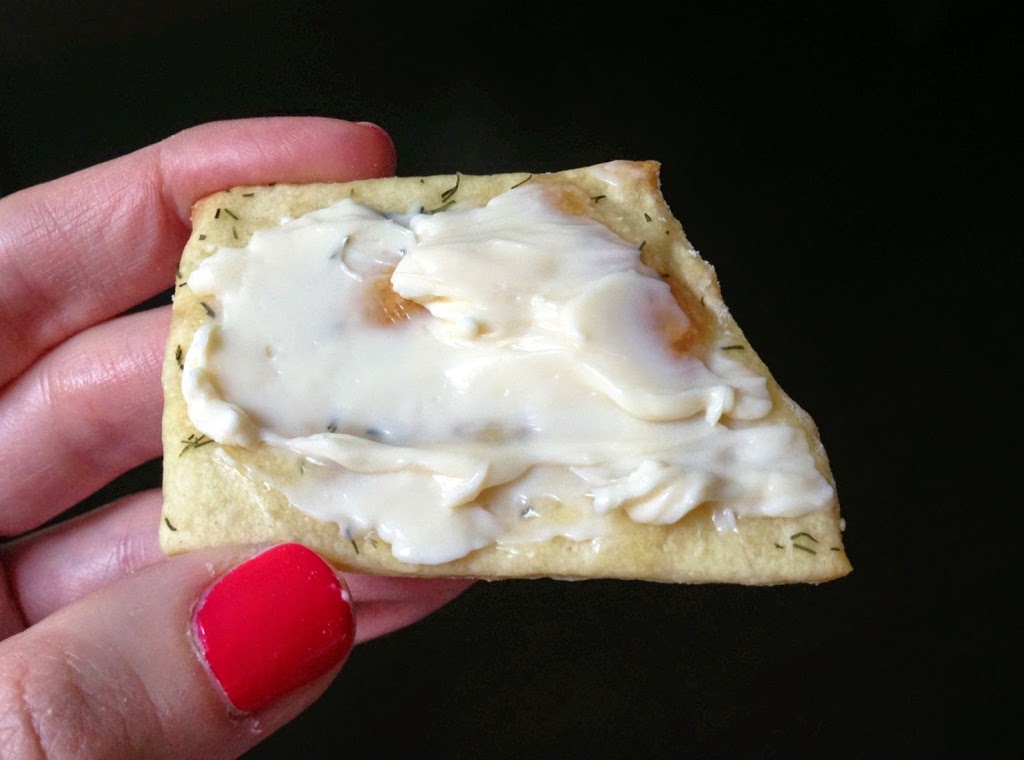
Go ahead – shmear some cheese on your homemade dill crackers!
Super easy homemade crackers - add your favorite herb or spice to make it your own!
Ingredients
2 cups of all purpose flour
1 cup + 2 tablespoons cool water
4 tablespoons extra virgin olive oil
2 teaspoons sugar
2 teaspoons salt
1 tablespoon dried dill
Instructions
Combine the flour, sugar and salt in a bowl. Add in the olive oil and water and stir until it comes together
Slap (yes) half of your dough on a floured surface and roll it out to about ⅛ inch thick with a rolling pin. Side note: I recently acquired a rolling pin and it’s really a wondrous invention!
Brush your dough with a tiny bit of water – just enough to make your toppings stick – not enough to make the dough sticky.
Sprinkle on sea salt, dill or really any herb or spice you want! The possibilities abound! Using a pizza cutter, cut your dough into crackers about 1.5×2 inches each then prick each cracker with the tines of a fork to keep them from ballooning up (like I will after eating this entire batch of crackers!). ***Note: If you want to get really Martha Stewart on us, use one of those ravioli cutters.
Bake for 13-15 minutes at 450 F, until they have a nice golden hue.
Remove from oven and transfer crackers to a cooling rack. Rinse and repeat with the second half of your dough.
Let cool and enjoy! *** Note: These crackers are best served fresh. If you don’t eat them immediately, store them in an air-tight container and crisp them up in a toaster oven before serving.
What do you do when you have extra yeast and a yoooooge bag of flour ?! Make bread of course! After sifting (har har) through tons of bread recipes that all require specialty flour, I realized focaccia can be made with just all purpose flour and I was sold! This is a versatile and forgiving recipe – it’s hard to mess up and the possibilities for toppings are endless!
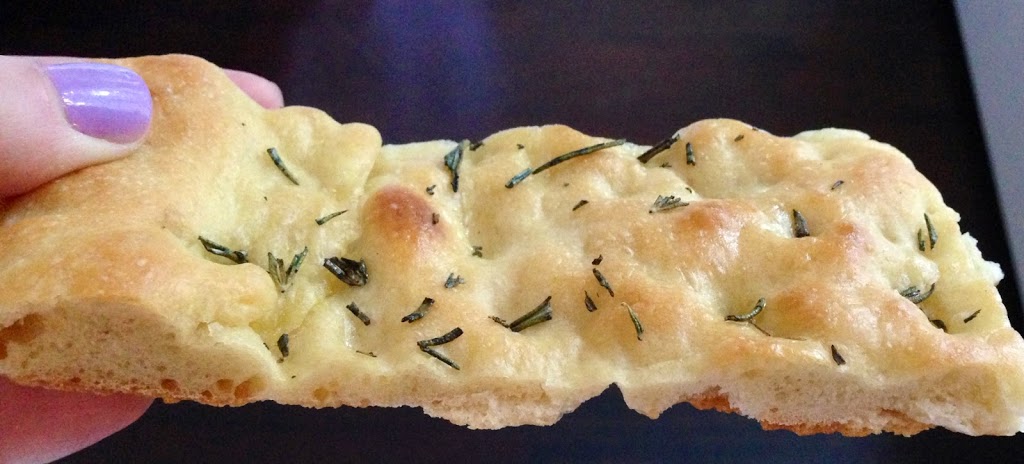
Homemade Rosemary Focaccia
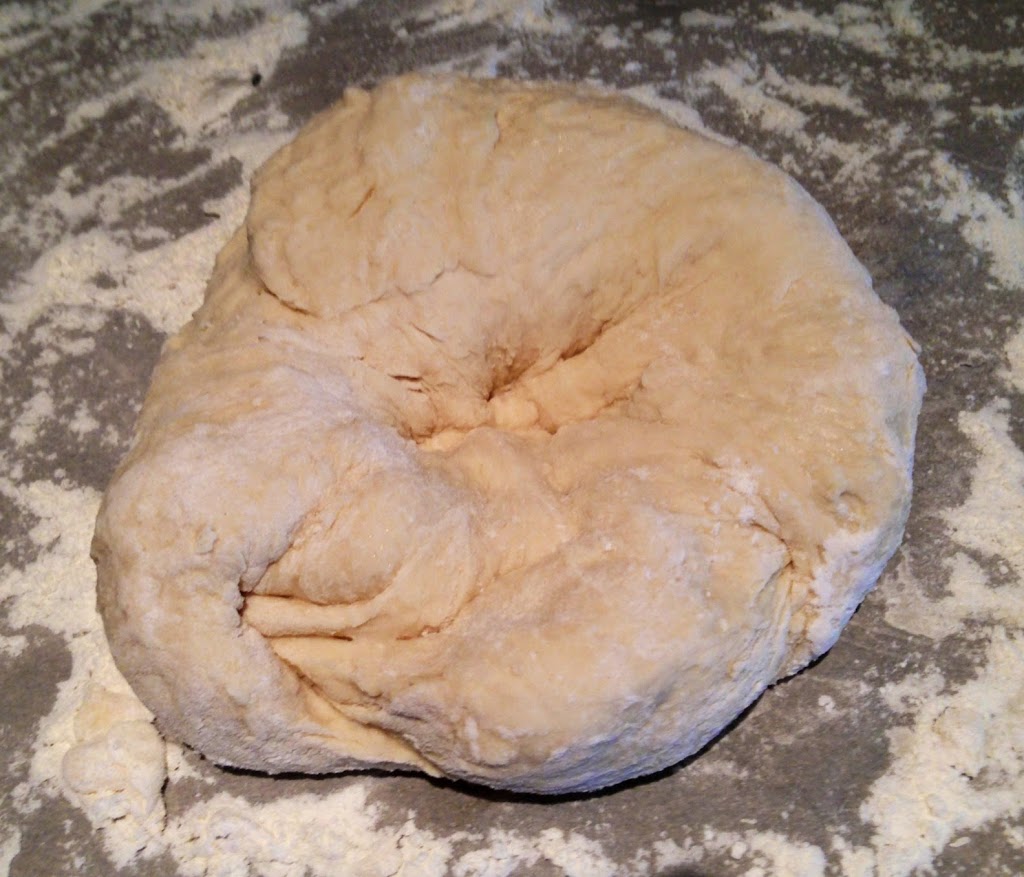
Focaccia Dough. Yes – those are knuckle marks, kneading is cathartic!
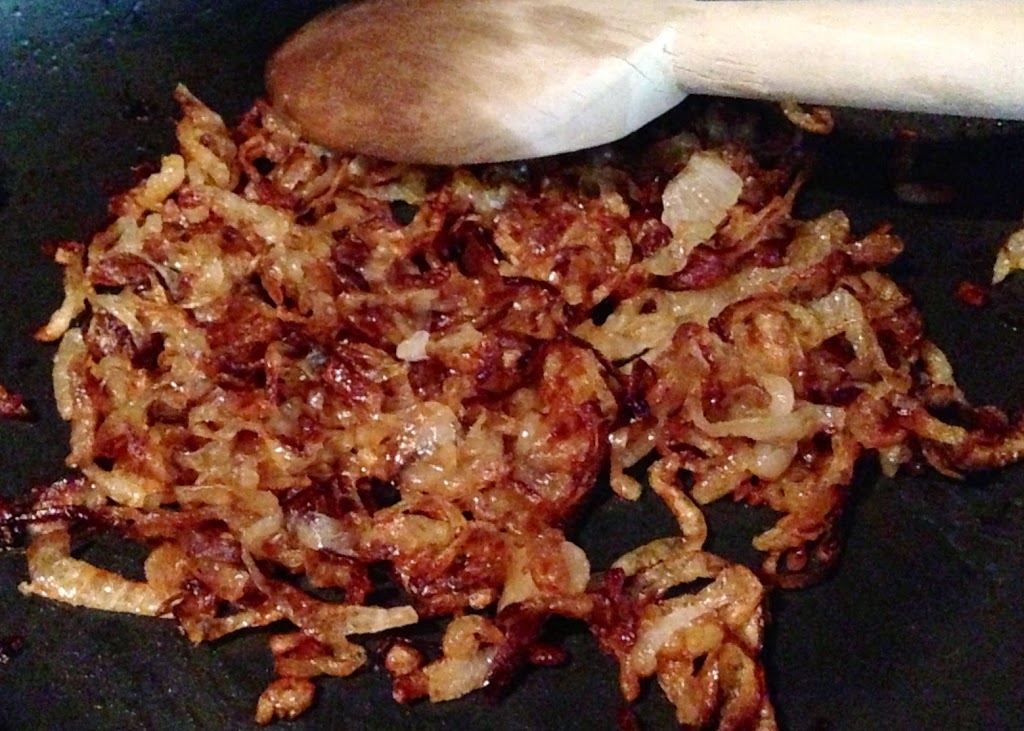
Caramelizing Onions – dat smell!
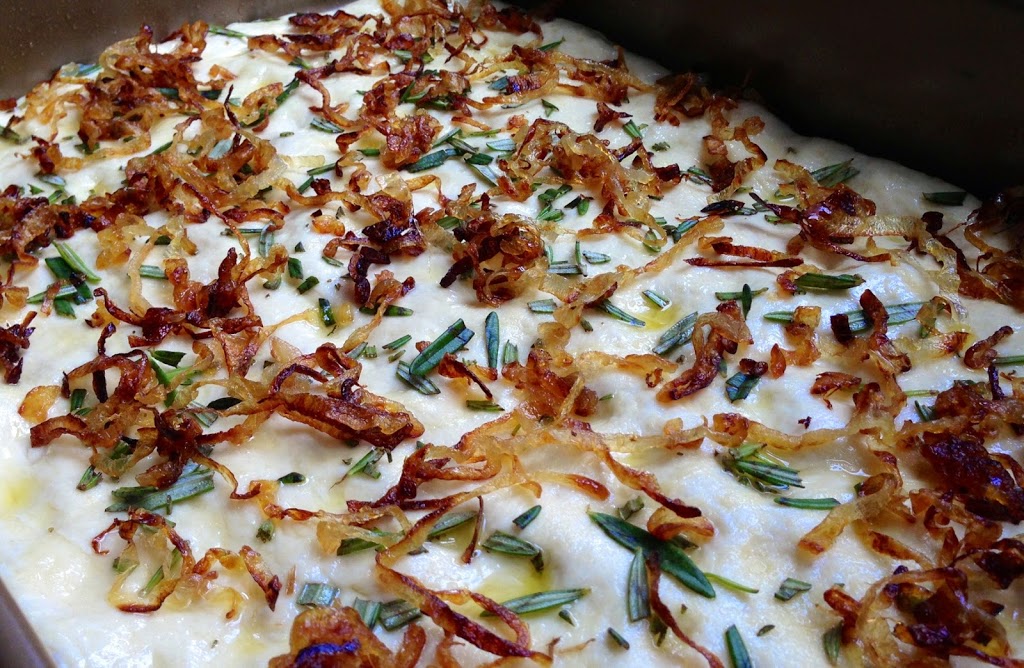
Focaccia Bread topped with Rosemary and Caramelized Onions
Combine the flour, sugar, yeast and water in a bowl and let sit for about 15 minutes (the longer you let it sit, the more the yeast will take effect and the airier the bread will turn out).
Mix the ingredients together with a spoon until the dough comes together, then transfer to a floured surface and knead by hand until it's smooth - about 5-10 minutes. Work more flour into your dough if it's still sticking to your fingers.
Form a ball out of the dough and place in a well-oiled bowl and cover with plastic wrap. Let it sit for 1-2 hours (you want your dough to double in size).
If you're adding caramelized onions, you can make them while your dough is rising - it will take about 40-50 minutes.
Preheat your oven to 450 F. While preheating, clean and roughly chop the rosemary.
Spread the dough into an oiled pan (jelly roll pans work well since they have high edges) and dimple the surface with your fingers – you want this to look rustic.
Brush the focaccia dough with (more!!!) olive oil, sprinkle with salt. This is where you would add any toppings like onions, rosemary, olives, garlic, sun dried tomatoes... the list goes on!
Put in the oven and bake until golden brown – about 20-25 minutes.
I’ve been in lurk mode for a while (but don’t worry, I’ve still been eating – a lot), waiting for the right recipe to inspire a new blog post. So when Fae posted this recipe for Nazook last night, I knew I had to make it immediately as it caused a wave of lovely childhood memories!
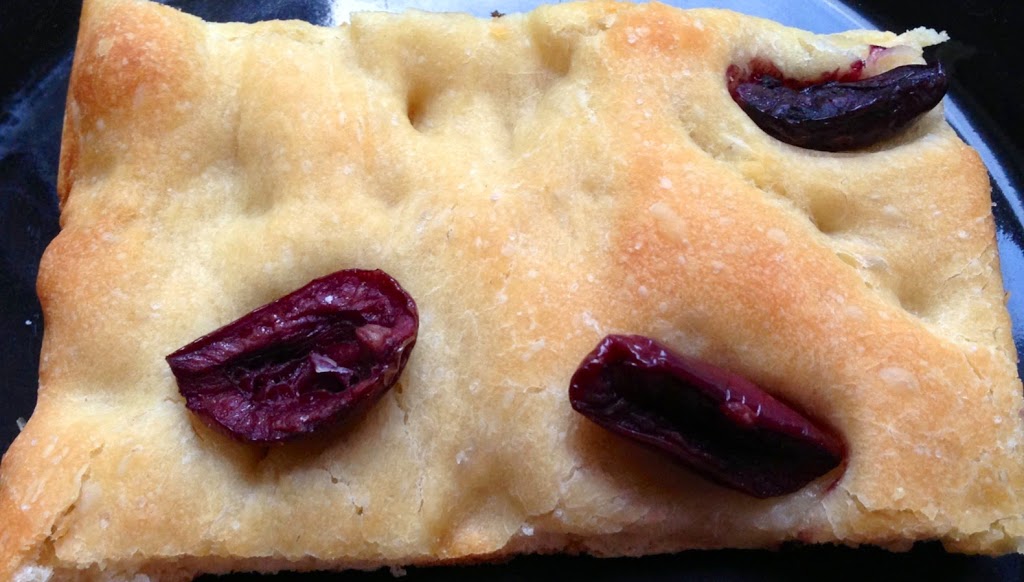
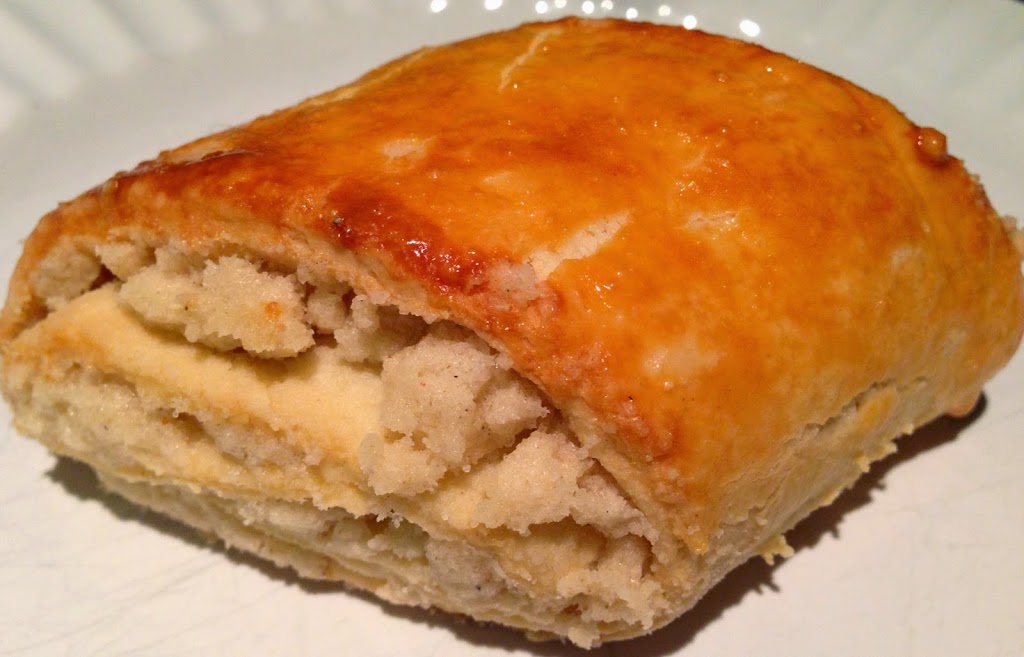
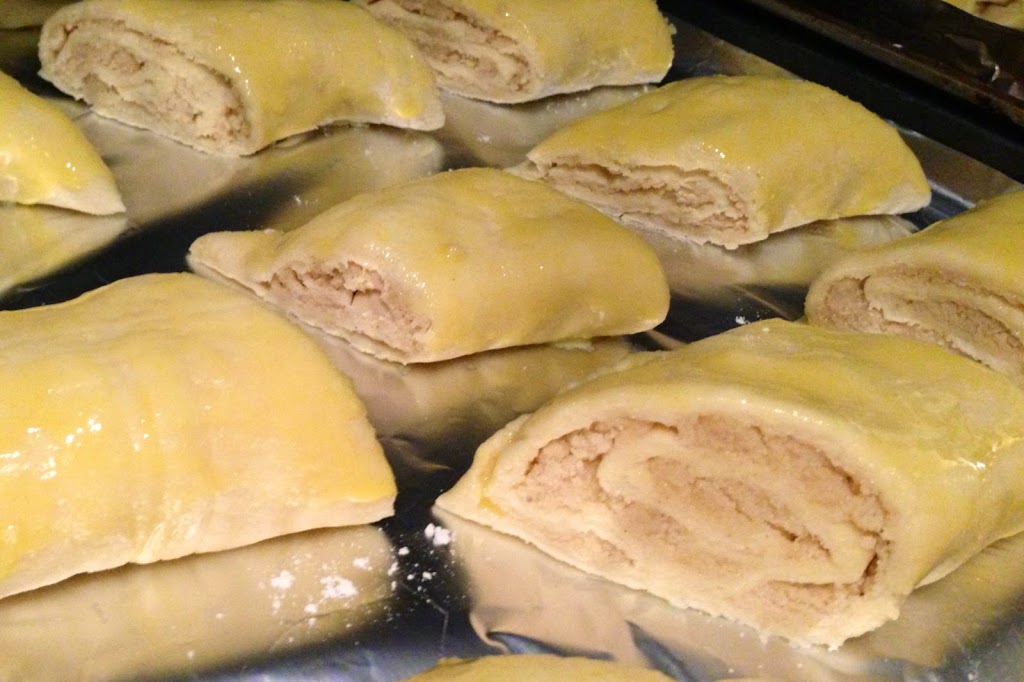
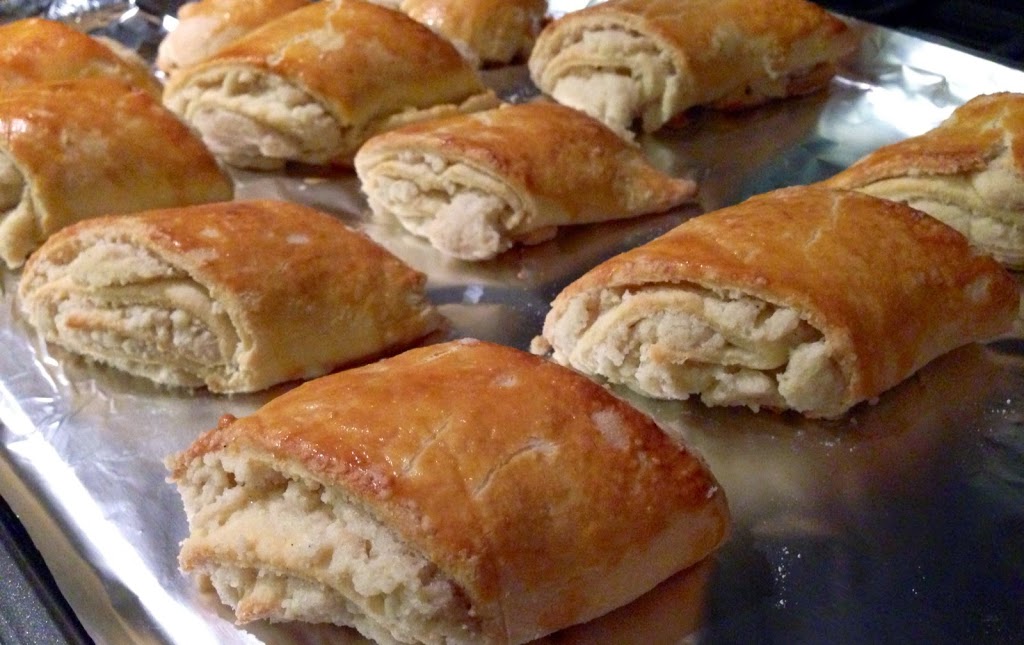
Nazook – also known as Gata, an Armenian pastry
I vividly remember riding in the car with my mom after school to go visit our older Armenian friends who lived nearby. As an 8 year old, I eagerly awaited these visits with our octogenarian friends because I knew I would be greeted with the warm scent of nazook bread. Years and lifetimes have passed since then, but I can still taste the sweet memory. Making the gata took me back over 20 years – thank you Fae for sharing!
Upon googling, Pavithra from Dishes from My Kitchen has an interesting write up of the history of Nazook bread – apparently it is traditionally prepared on Easter and eaten through Ascension – almost 40 days after Easter itself.
I used Fae’s recipe and made the following adaptations:
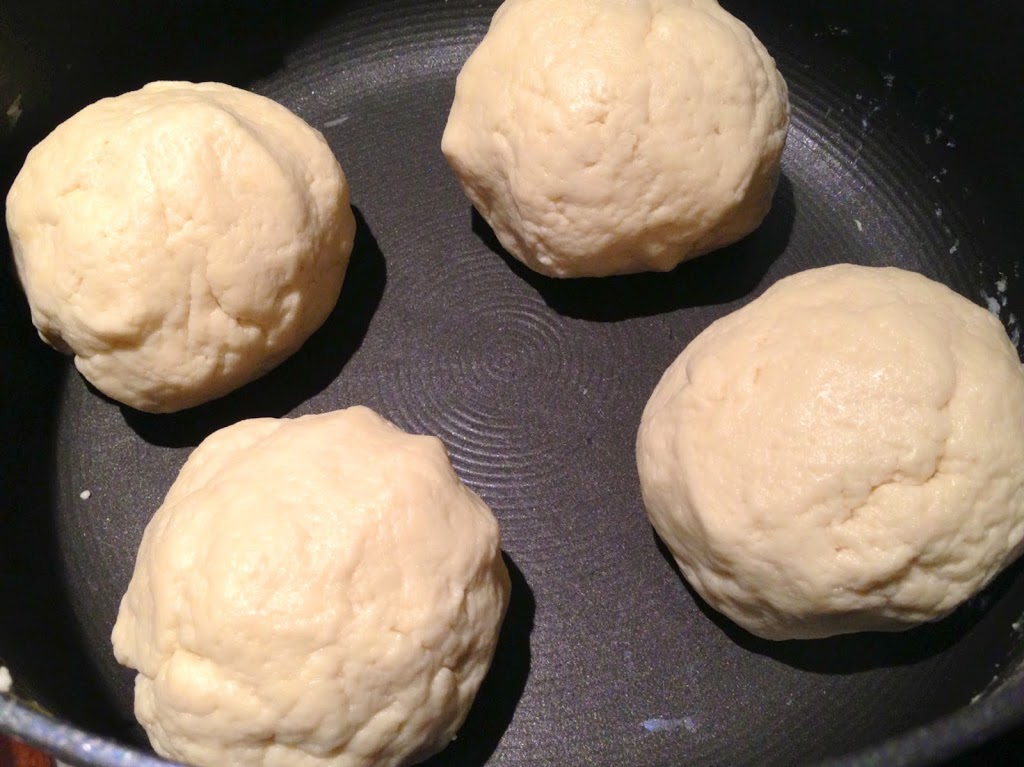
Chilled the dough for 2 hours
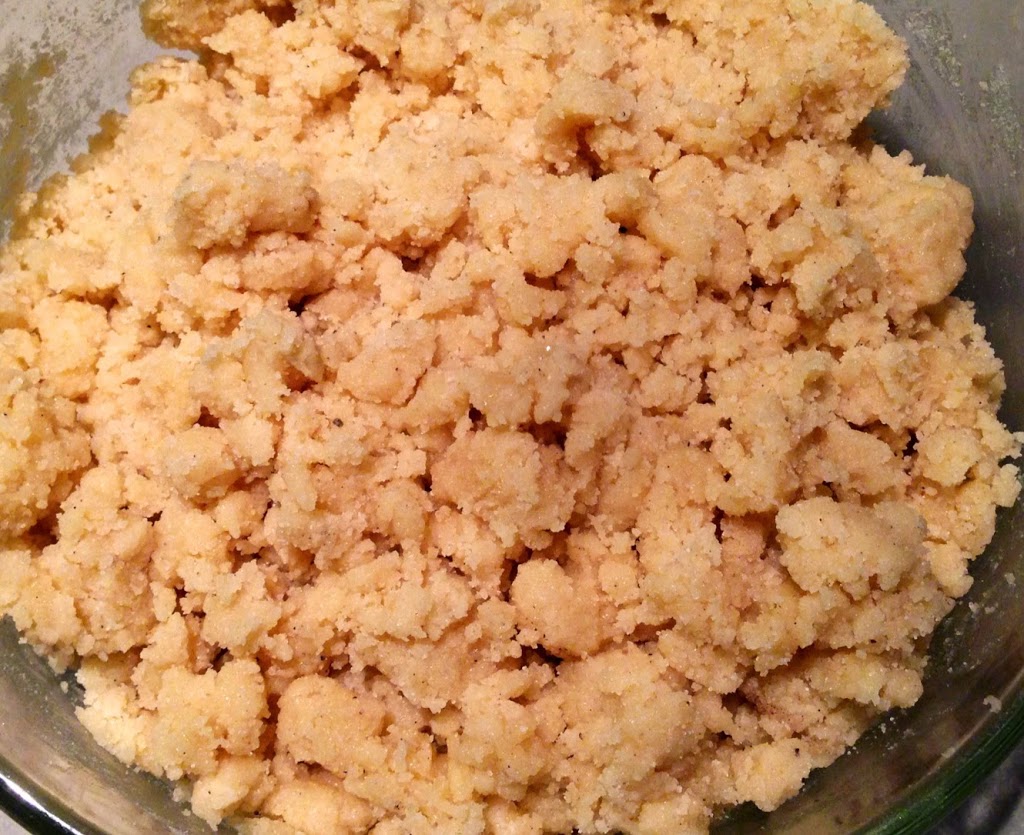
Added to the filling:
2 tsps ground cardamom
1 tsp rosewater (golab)
They came out delicious – a fluffy, delicately sweet accompaniment to tea – while reminiscing of course!


Recent Comments