
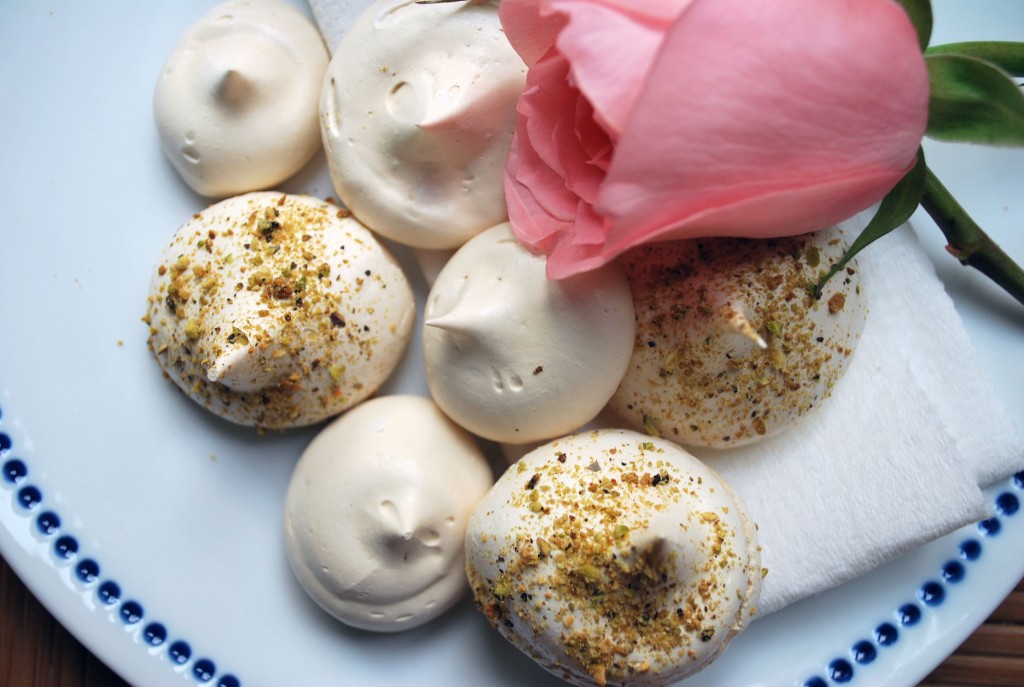
Rose Infused Meringue with Pistachio Dust
I found out a couple weeks ago that I have to move by the end of September. What’s that you said, you love moving? I know with the support of my family, friends and a nice bottle of Hendrick’s gin I will make it through this, but I was definitely caught off guard when I got the news.
Rose Infused Meringue with Pistachio Dust
So what was the first thing I did when I got this upsetting news (besides calling my mom for some sympathy!)? Baked all weekend! There’s no therapy quite like food therapy and how could anybody feel down when they are a eating a light, fluffy cloud infused with the flavor of roses and dusted with pistachios! Not me.
Rose Infused Meringue with Pistachio Dust
I felt so much better after I made these lovely cookies, using my brand new, gigantor Kitchen Aid Stand Mixer (purchased a week prior to finding I have to move, and a week after writing about essential tools for a tiny kitchen). But I don’t regret it one bit – whipping those egg whites with sugar into clouds that are so light they dissolve the moment they meet your tongue never felt better.

Pastry Bag? No way – use a big ziploc bag and cut off the tip!
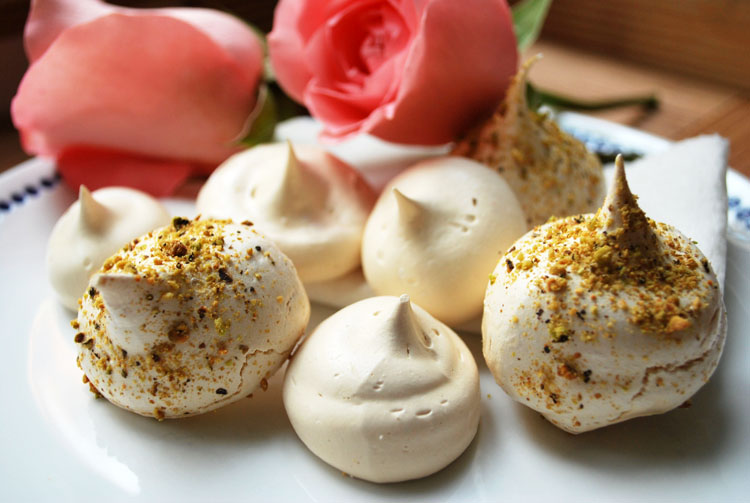
These meringues are a play on the classic flourless cookie infused with a slight hint of rose. You can find rosewater in most major grocery stores in the ethnic food aisle.
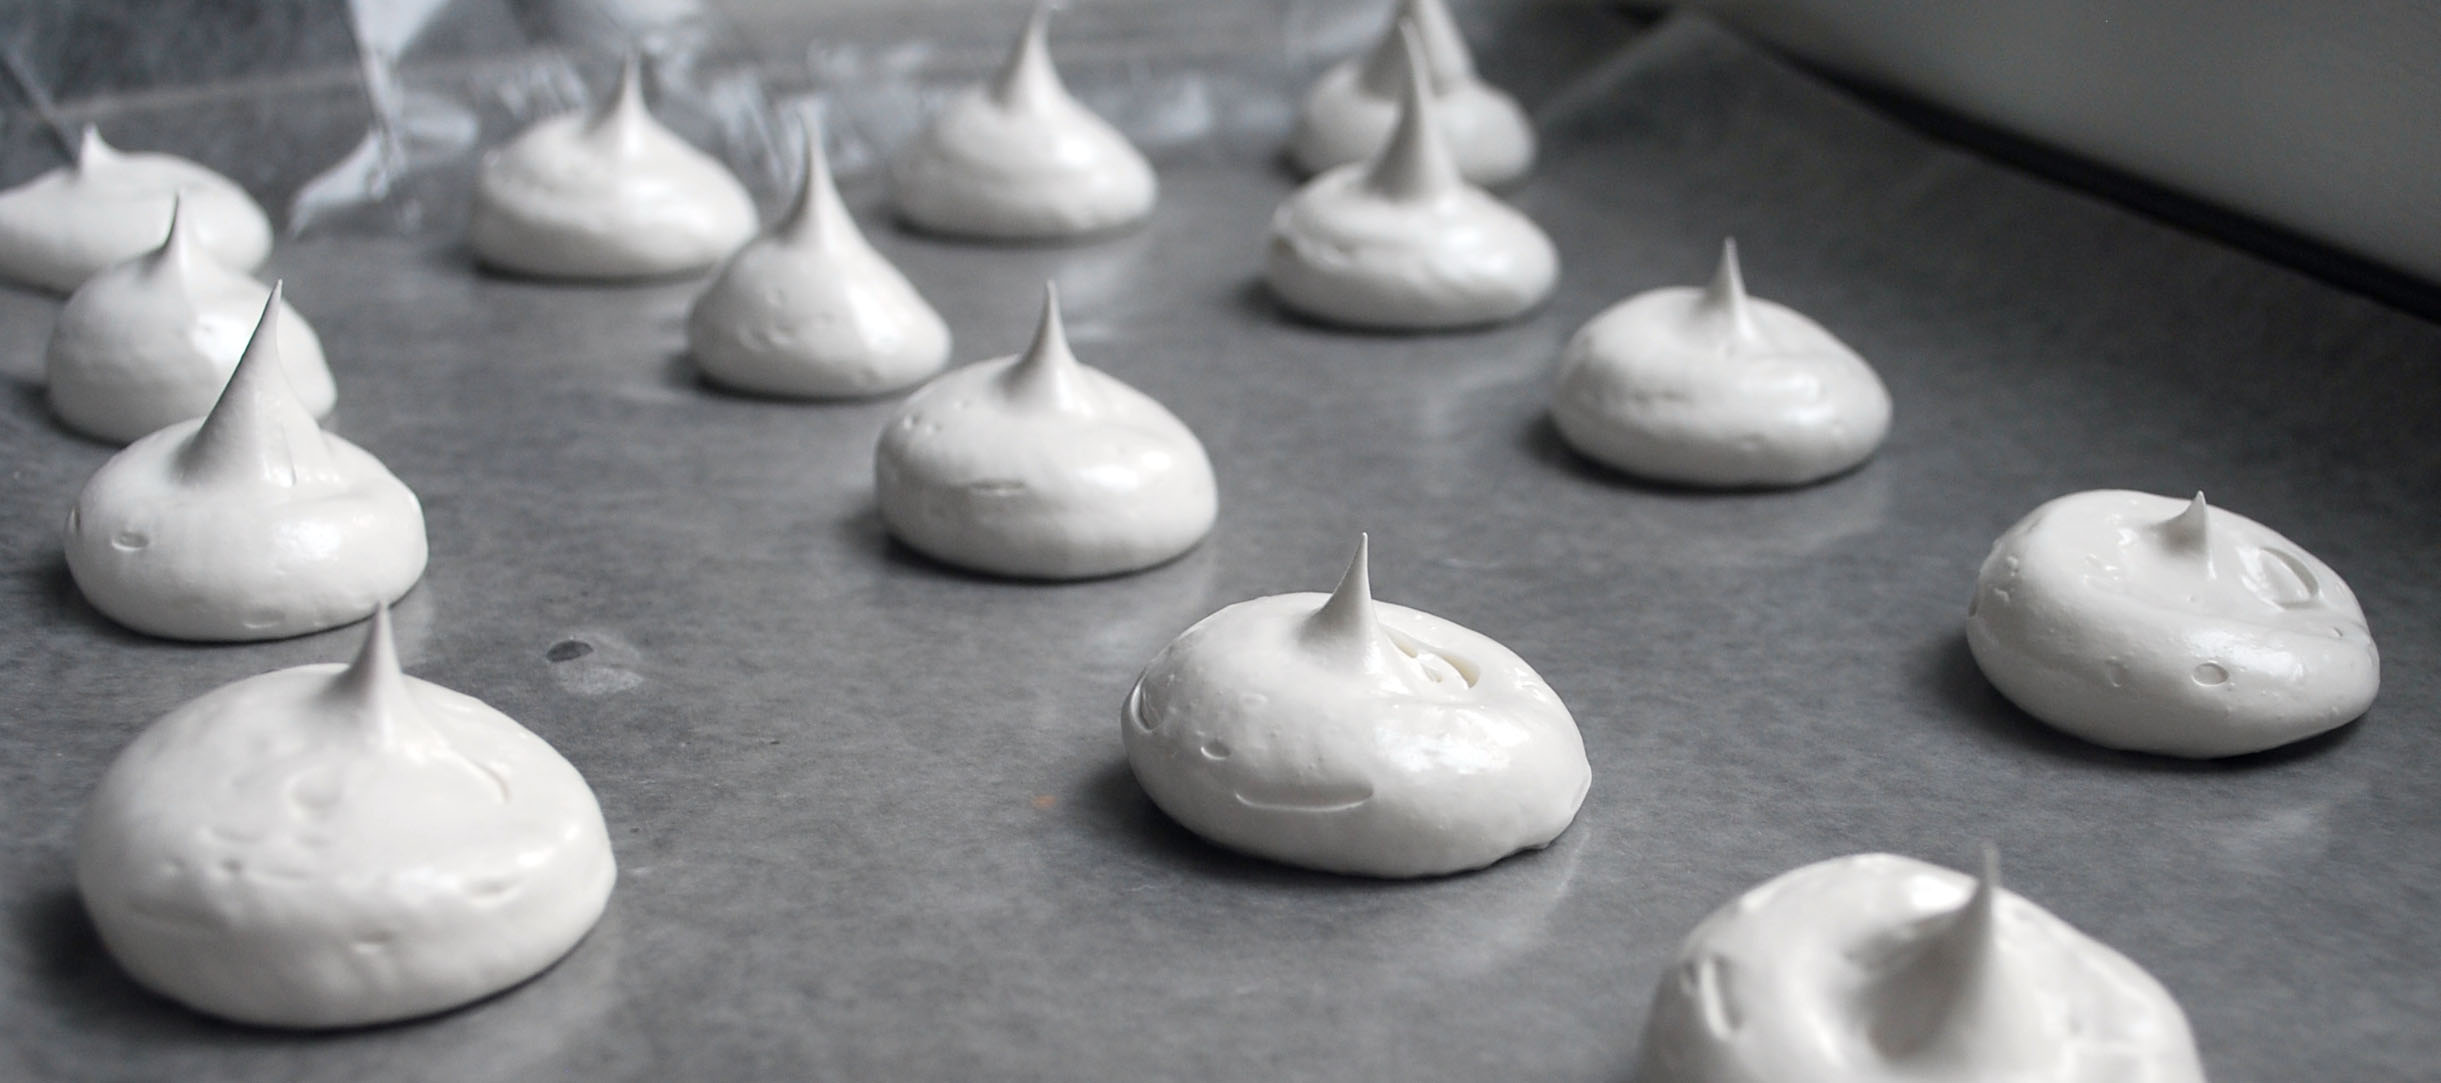
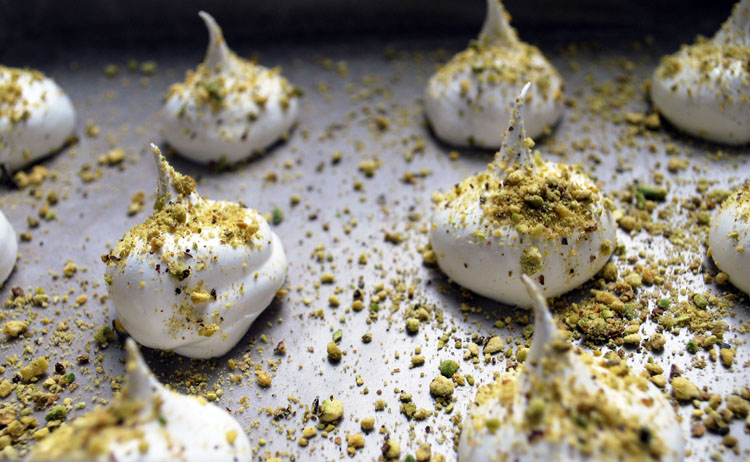
Rose-Infused Meringue Cookies – ready for the oven!
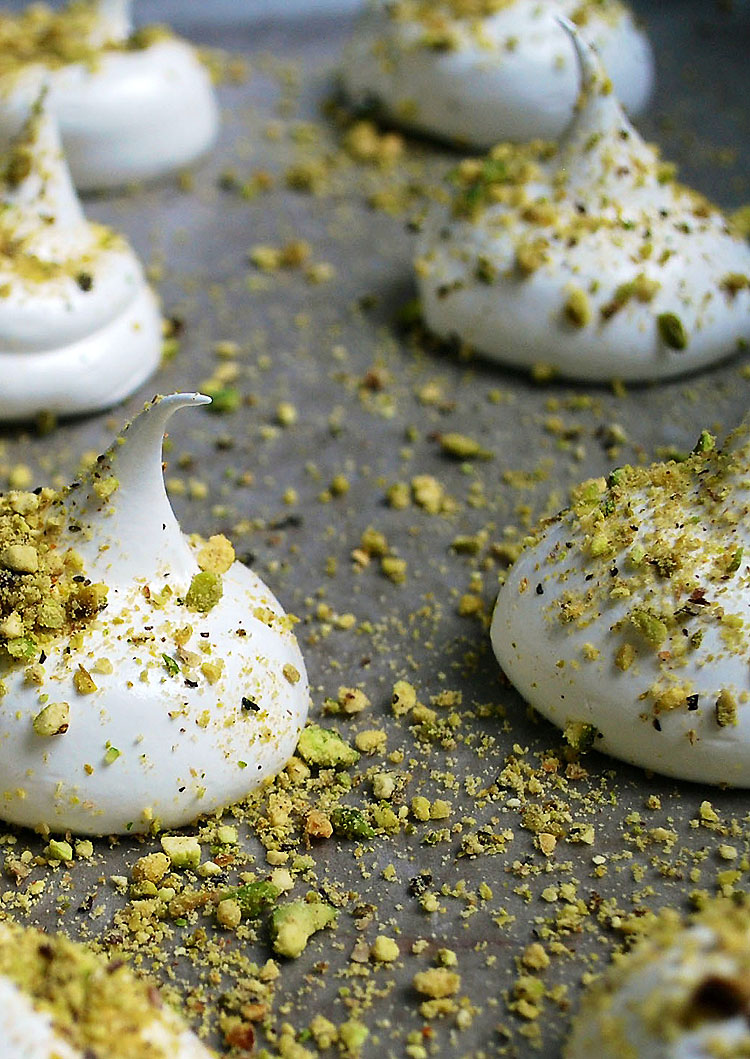
They can be garnished with some pistachios pulsed in the food processor or other nuts you’ve pulsed in the food processor for a few minutes – or just serve plain. They are a light, fluffy delight either way but the nuts add an extra crunch, flavor and look beautiful.
Rose Infused Meringue with Pistachio Dust
- 4 egg whites, at room temp
- 1 cup of sugar
- ¼ teaspoon cream of tartar
- 1 teaspoon rosewater
- ⅓ cup of shelled pistachios (optional)
- To prepare: start a double boiler, put wax paper on two cookie sheets and also preheat your oven to 200 F.
- Combine the egg whites and the cream of tartar. The cream of tartar will stabilize the egg whites and make sure they don't lose their shape or fall - particularly important in humid conditions.
- Put the egg white mixture in a glass bowl over your double boiler and add the sugar. Stir with a whisk constantly until all the sugar is dissolved (about 5 minutes or so).
- Transfer the egg white - sugar mixture to your stand mixer.
- Start your mixer with the whisk attachment on the lowest setting for a minute, then bump it up to medium for another minute. Now is where the fun starts...
- Increase the mixer speed to the highest and whip the sh*t out of it for about another 8-10 minutes until you have stiff peaks.
- Add in your rosewater and mix for another 30 seconds or so.
- Scoop your thick mixture into a large ziploc bag (or pastry bag if you're fancy). This part gets messy so have some paper towels or a rag on hand!
- Cut the end off the ziploc bag for piping - depending on what shape you want your meringues you might cut it smaller or bigger.
- Pipe out your cookies - I went simple and basically made a Hershey's Kiss shape. You may have to use two cookie sheets.
- Pulse your pistachios in a food processor for about 30 seconds until there are no large chunks and sprinkle over your meringues. Marvel at it's beauty.
- Bake your cookies low and slow for about 1.5 - 2.5 hours. You'll know they're ready when they lift off the parchment paper without any struggle or mess. I'd recommend checking every 30 minutes starting at 1 hour.
- Let your cookies cool IN the oven - simply turn it off and let the cookies sit there for another 1-2 hours.
- Enjoy right away or store in an air tight container for a week or two!
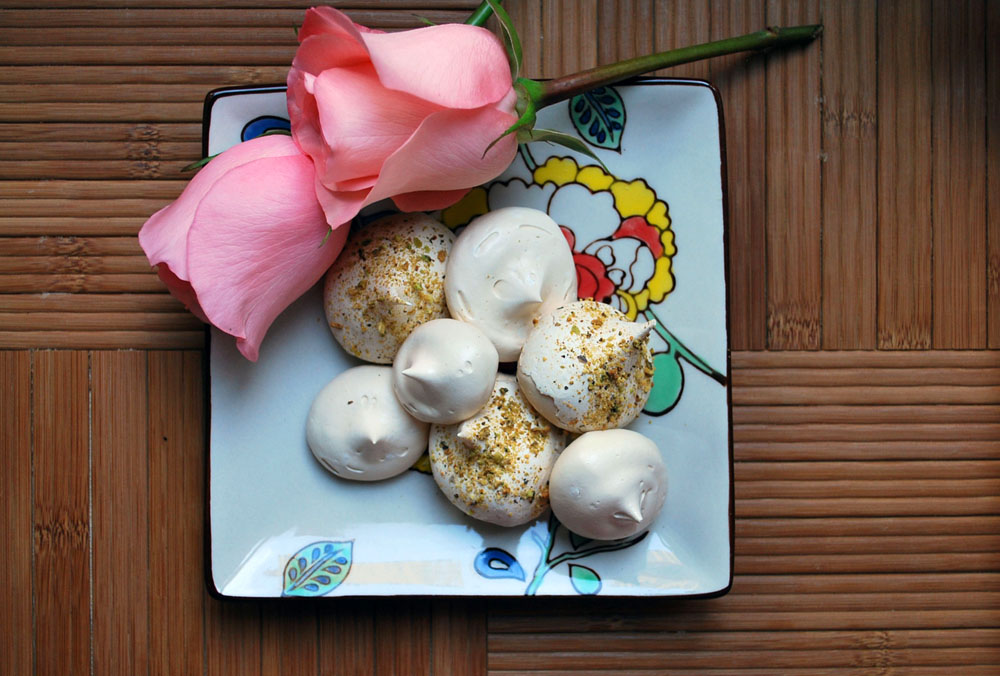
Rose Infused Meringues with Pistachio Dust


Recent Comments