by Ahu Shahrabani
on August 25, 2016
Hello, friends! I can’t believe it’s already getting to be my favorite time of year. Summer is still very much here with warm days but Fall is creeping her way into the days from both ends with a hint of crispness. I don’t know about you, but just the promise of Fall’s arrival gets me all giddy – it’s the season when I feel most alive. Bring on the sweaters, boots and changing leaves. There’s also something very special about Fall and the build up to the holiday season in NYC. I can’t describe it in words – you just have to experience it for yourself.
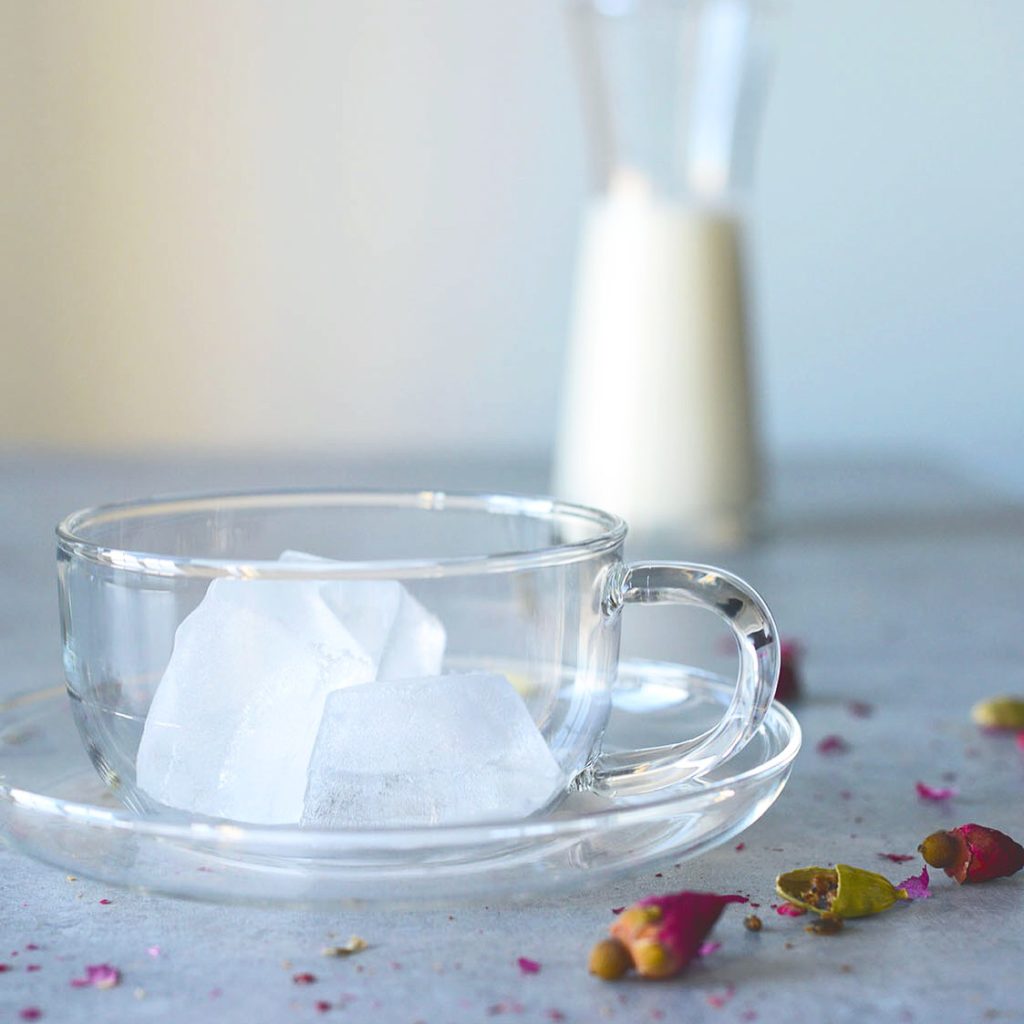
Oh, the possibilities.
But wait! I’m here with a recipe for ICED coffee.
Click here to keep reading this post
{ }
by Ahu Shahrabani
on August 21, 2016
Lavashak. Yep, I said it. Did your mouth immediately start watering? If so, you can skip to the next paragraph. If not, let me explain! So, what is this magical food? It’s Persian fruit leather!
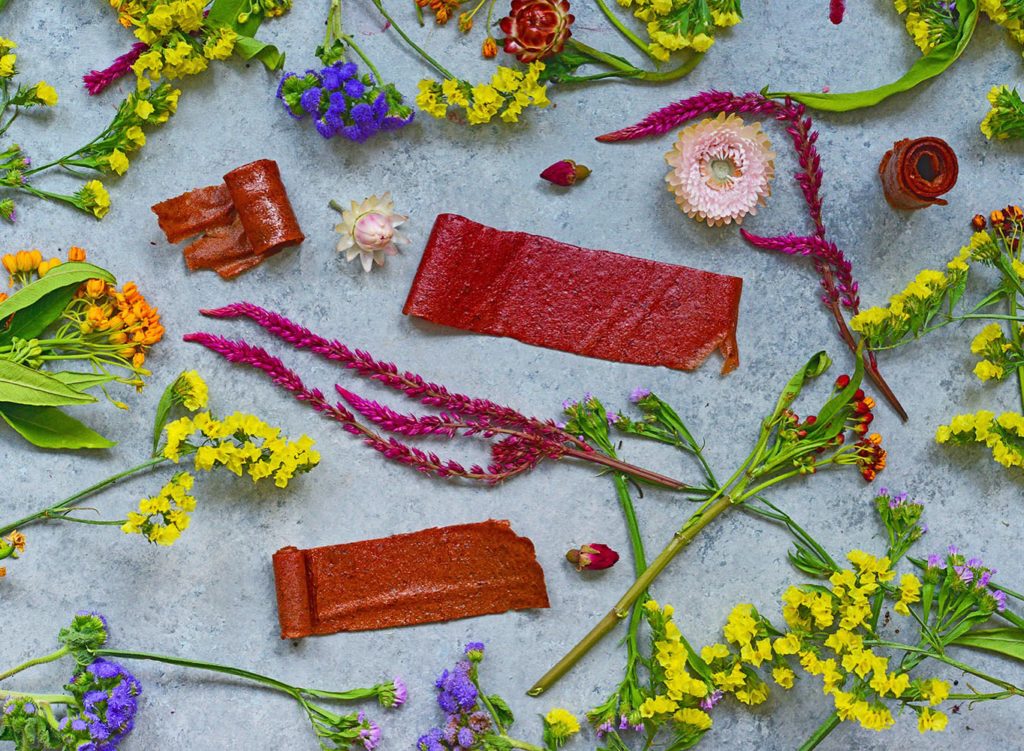
Lavashak, or Persian style fruit leather, is an easy to make snack of dried fruit dried out in your oven! Healthy, tasty and vegan!
For those of you who grew up on lavashak, I’m sure you could close your eyes now and see summer days with sheet trays of beautiful, liquified fruit drying on balconies, in backyards or even roofs. Consumed in probably 1/10th the time it took to prepare, waiting for the lavashak to dry was torture!
Click here to keep reading this post
{ }
by Ahu Shahrabani
on July 31, 2016
Helloooooo August. August means high-vacation season, hot weather and the irresistible urge to have a cocktail, outdoors. For us city dwellers, that means finding the nearest rooftop and imbibing. For those of you lucky enough to have your own outdoor space, you’re probably spending a lot of time on your patio / backyard / deck. Well, luckily, this recipe for a Pomegranate Rose Gin Fizz, a lovely little cocktail works no matter where you enjoy it!
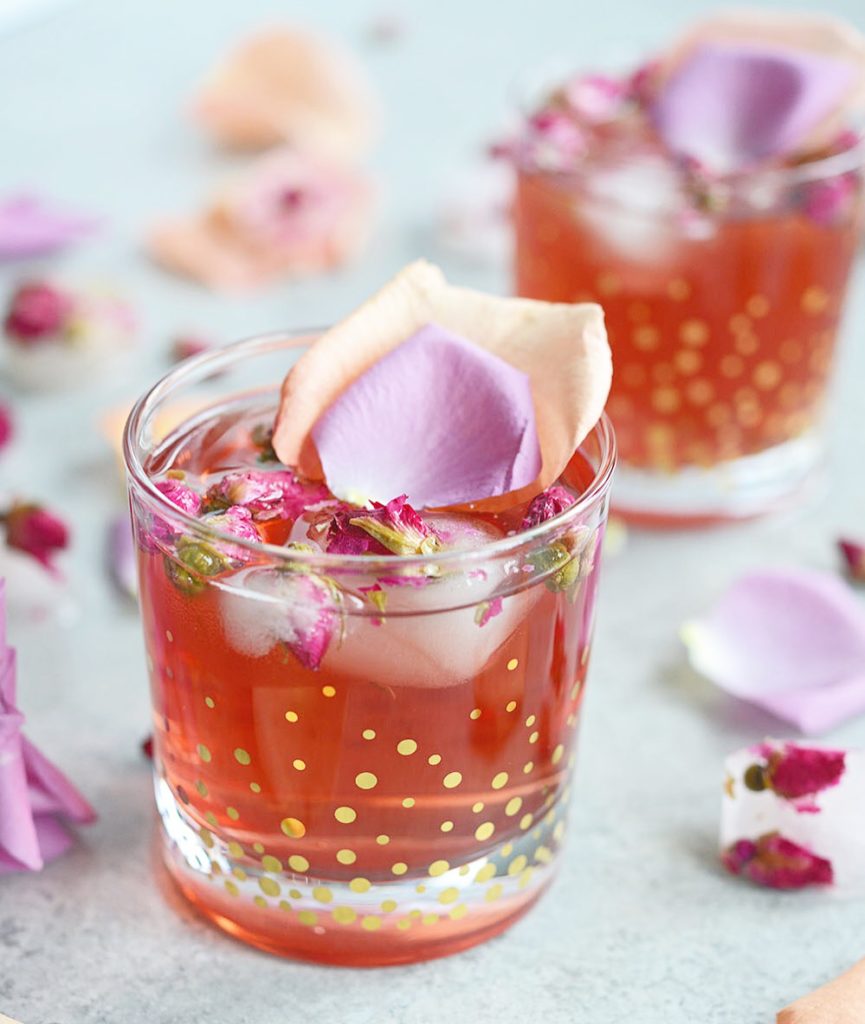
This Pomegranate Rose Gin Fizz is a gin-based cocktail with pomegranate juice, club soda and a splash of rosewater for a lovely pink, Persian-inspired drink.
Click here to keep reading this post
{ }


Recent Comments